10 checklist to launch your digital courier business with DelyvaX Courier Management System

After months of working your socks off, it’s finally time to launch your courier business! While it’s exhilarating to know that your hard work has finally paid off and this momentous occasion certainly calls a celebration, it can also be overwhelmingly stressful.
You’ve put so much effort into this, it’s only normal you want everything to be perfect. However, with so much going on, sometimes it’s hard to keep track of every single detail. As the adage goes, behind every successful launch is a meticulously planned checklist (or something similar that goes with it).
With a checklist on hand, not only can you better organise your tasks, but it can also help reduce errors and ensure everything is checked and in order before you go live. Here are ten things you should do to set up a successful launch for your Delyvax Courier Management System.
Step 1: Complete your company profile

It may sound like a no-brainer, but the first step to a successful launch is to have a company profile. Aside from the company name, you should also decide on your company brand icon, logo, colour, address, contact, support and other relevant information that will set your company apart from others.
To complete your company profile setting on Delyvax, head to Settings, then click on Accounts before going to General. Under General, there’s a drop-down menu, click on Company Information and you’ll be able to fill up all the necessary information.
Here’s the tutorial video :
Step 2: Add your fleet details
Next on the agenda is to add fleets. Running a successful courier business requires a team of personnel to ensure smooth and seamless delivery.
To add a team, go to Fleet, then select Team. When you’ve landed on the page, just fill in details of your operational organisation structure.
As for personnel, instead of selecting Team, click on Personnel. There’s a button on the top right that displays “Add Personnel”. Click on that and you’ll be brought to the page where you can fill in information such as Account and Profile, Payroll, Payment method, Documents and Vehicles.
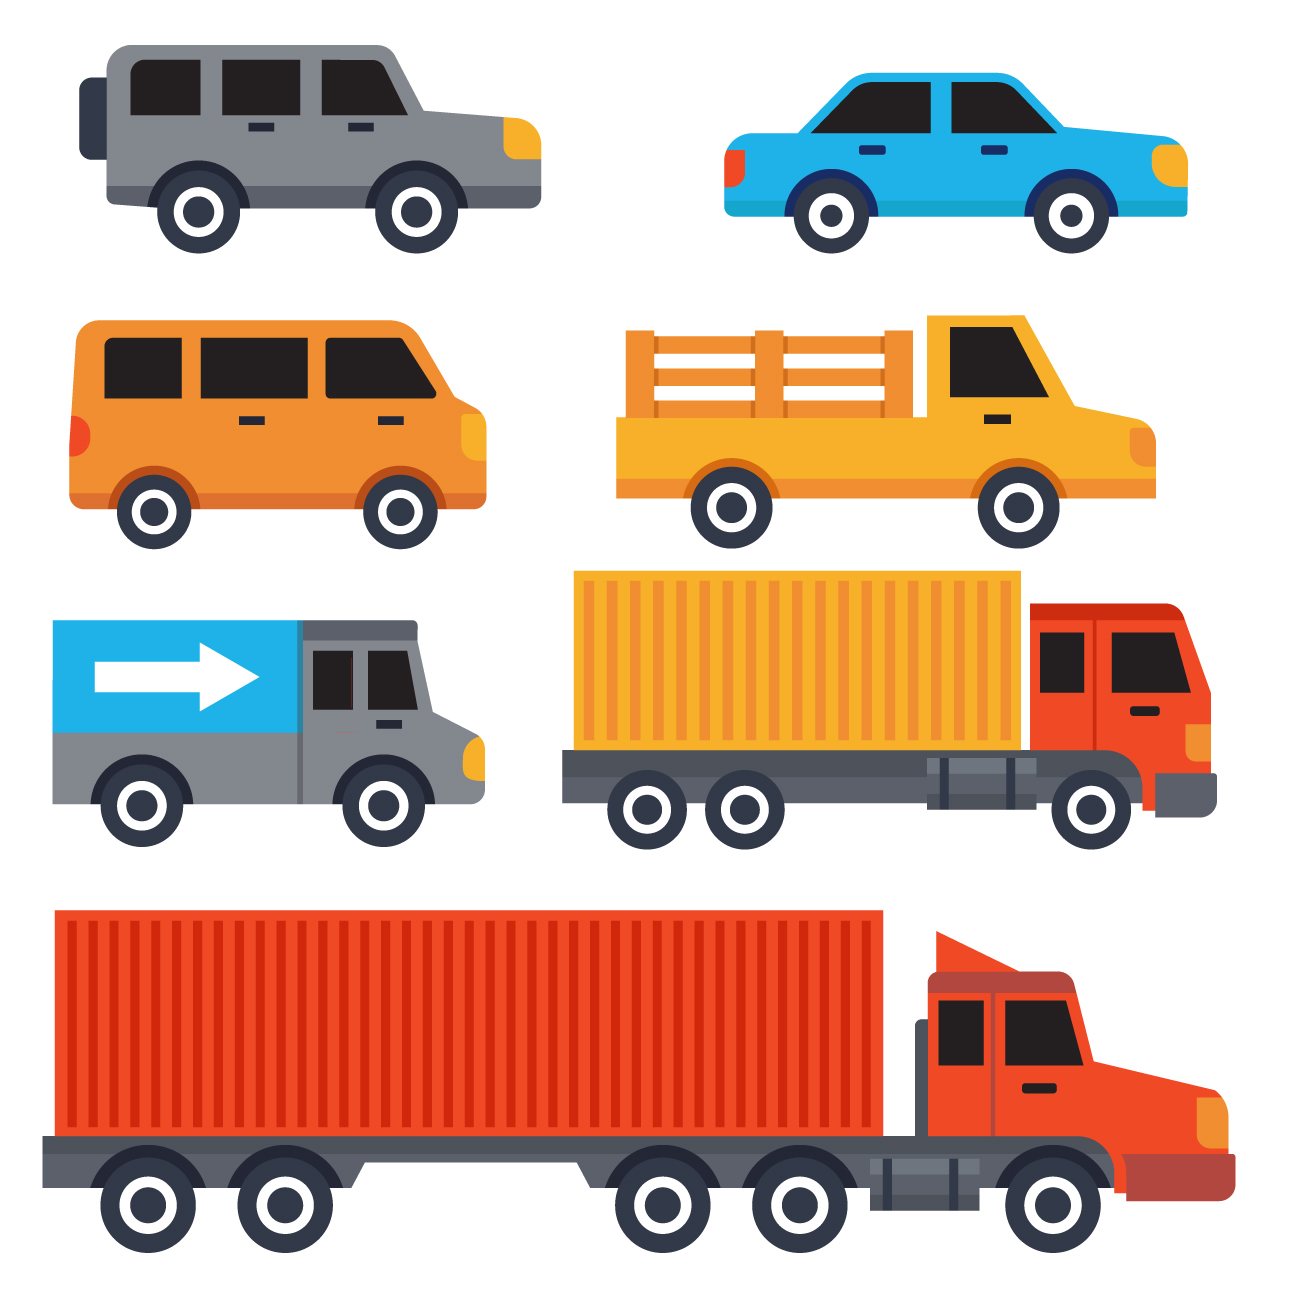
And then there are vehicles that you need to register as well. Currently, there are six types of vehicles you can register – bike, car, van, lorry, 4×4 and sport. You can select based on what kind of vehicle you planned to use for your courier business.
Last on the list is to register places assists your customers. It can be a physical branch or a drop off point where customers can collect from. Go to fleet and click on Places to fill up your address or coordinates.
Now that you’ve set up your fleet information, it’s time to get your personnel or drivers to register and log in to the system. First, they need to download the DelyvaX Driver Mobile App. Once completed, they have to sign up. A verification code will be sent to their email or SMS to verify their account. Once everything’s done, they can now log in as a driver.
Here’s the tutorial video :
Step 3: Add item types

Now it’s time to add items that you’ll be using in your service. Whether it’s package, document or food, you can list them down in Items (under Services). For measurement, you can customise Weight, Dimension or both.
Under logistic features, you can also mark the item as fragile, task, frozen or fresh so that your drivers know what to expect and if it’s fragile, he will handle with extra care.
Here’s the tutorial video :
Step 4: Include coverage locations
Aside from Coverage, there’s also Zones. This feature is for those who are looking to group your coverages.
Here’s the tutorial video :
Step 5: Add Consignment Details
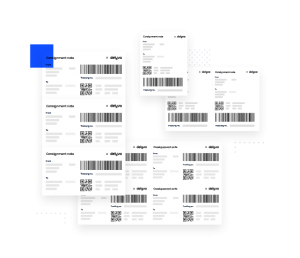
All you need to do is add the type of consignment you want to deliver. Customise it according to how you want to label your items and we’ll generate the consignment number (or order number) for you.
For example, if you’re looking to generate consignment counter, go to the Consignment Label tab and click “Add Counter”. Once you’re in the page, select your consignment group and set the status to Active. Then, determine what’s your starting and end value.
Scroll down and you’ll see an Add Card button. Click on that and select what type of consignment card you’re generating. For the first card, you’ll want to select Text. Under the card, just put in the letters that you want to be on your consignment. For the second card, select range and input the length that you want. If you want your consignment to end with a letter instead of a number, on your third card, select Text again and key in the letter.
Here’s the tutorial video :
Step 6: Add details of your services

So, what kind of services are you providing? Whether you’re providing Service, Pos or Same Day Delivery, it’s good to state it out in the open so people know what to expect when they approach you for delivery. You can select the option by accessing it at Services, before clicking into Service Type.
To add the types of Service Provider or Service Company you’re using, go to Service Provider and fill in all the details before clicking submit.
Here’s the tutorial video :
Step 7: Add customers

And then we move on to adding customers. To do this, you have to first open your customer web portal at https://your-company-code.delyva.app/customer (this is an example). Sign up and enter your verification code that will be sent to your email. And now you can log in as a customer.
If you want to change the payment term for a customer, go to the ADMIN web portal and head to Customer. Search for the name of the customer, click on it and you’ll find an “Edit Customer” button on the top right corner. Then, click on Billing & Bank Information and the payment term.
Note: You can also sign up and log in as a customer from the consumer mobile app.
Here’s the tutorial video :
Step 8: Create orders
This next step will detail how to create an order as customers on the web portal. Same as the process above, you need to first open your customer web portal page at https://your-company-code.delyva.app/customer. Now that you’ve registered, you just need to log in as a customer. If you want to get service rates that you’ve set for your previous order, go to instant quote.
To create a new order, click “New Order” to open a single order form. Fill in the necessary information such as sender information, receiver information and service information. Next, click “Confirm Order” to submit the new order that you’ve just created. Now, head over to Orders and click the Print button to print the order label.
To track orders, click on the Track button to find out the status of your order on the order tracking page.
Note: You can also create order from consumer mobile app.
Here’s the tutorial video :
Step 9: Assign drivers to task
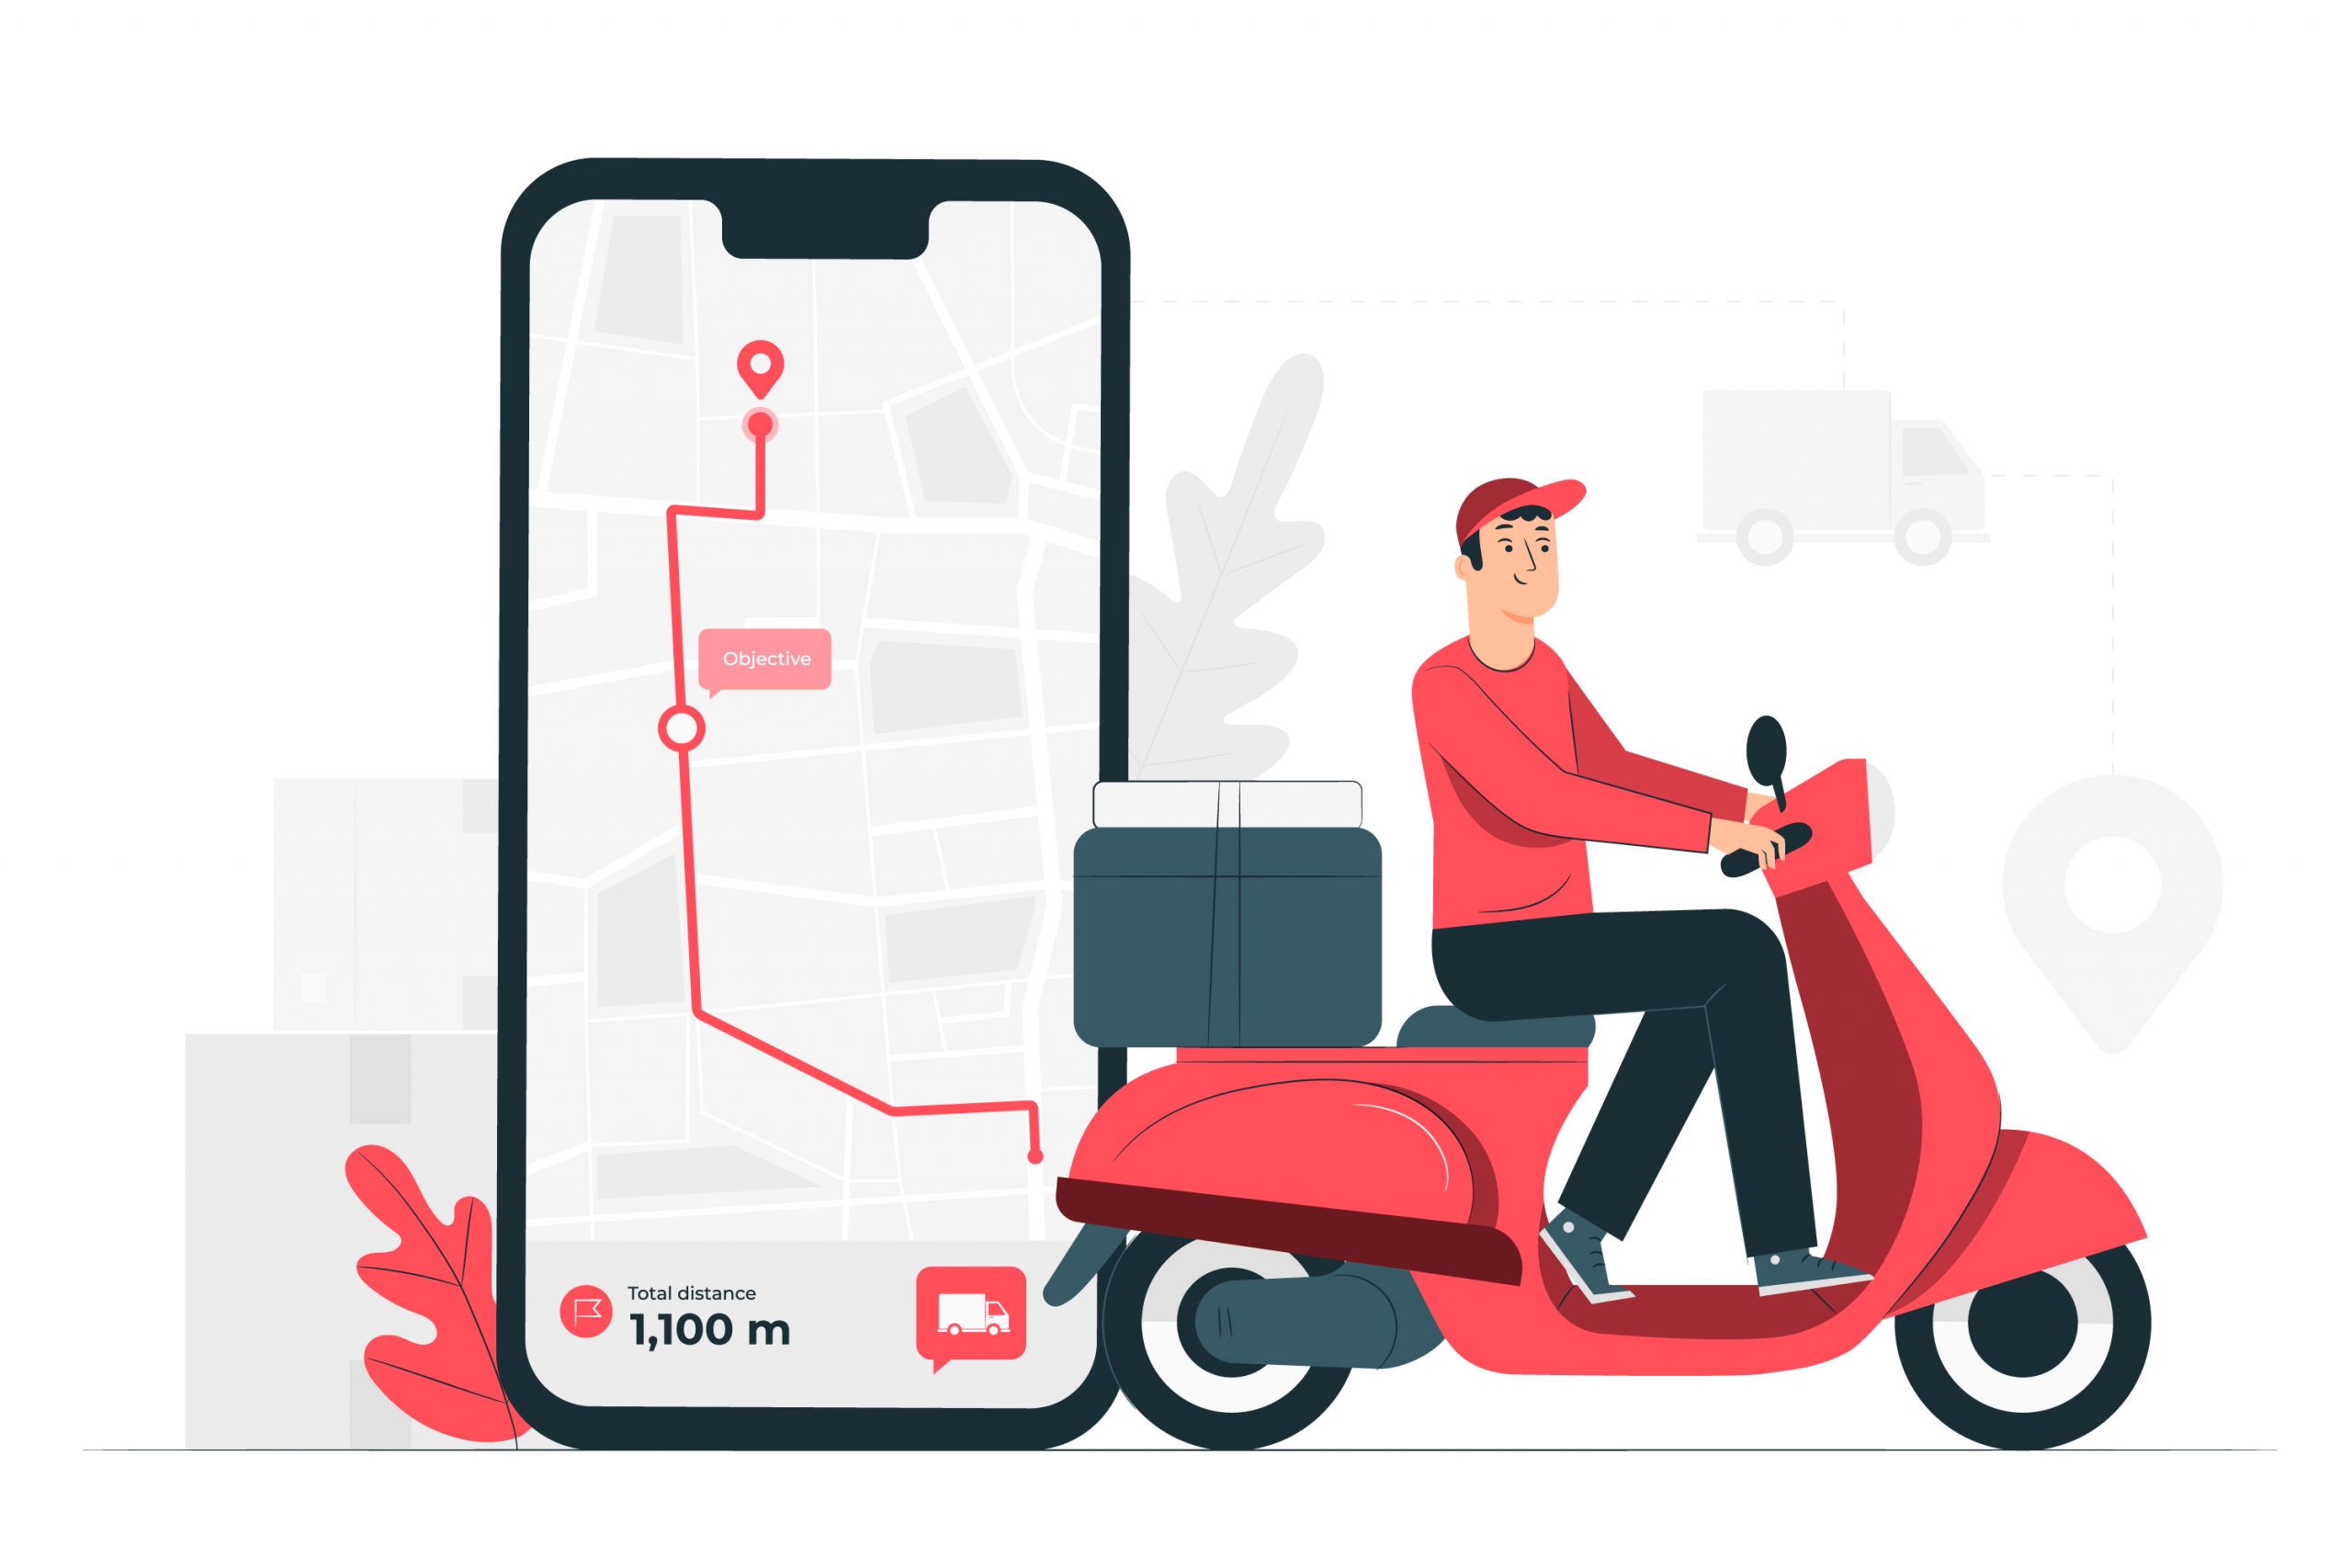
Finally, it’s time to assign tasks! Before you get all excited, you have first go to Live, then select Map from the drop-down menu. Find the task that you’ve created in your previous steps and click Assign. Select a driver to assign the task to and submit.
The driver will receive the assignment and once the order is signed, sealed and delivered, the driver can complete the order in the Driver Mobile App.
Note: Personnel can also accept the task via the Driver Mobile App > Open tasks > Select a task and Accept.
Here’s the tutorial video :
Step 10: Refer to resources
Easy isn’t it? With DelyvaX, setting up your digital-first courier business is exactly as simple as that. But if you encounter any issue during the process, you can head to our Help Centre and we’ll try our best to answer your burning questions. If you want a visual representation of the process, you can watch the tutorials on our YouTube channel.